

Blush Draping 101: The Sculpting Technique That Replaces Contour
Learn how to drape blush for a lifted, sculpted look without traditional contour. This easy blush draping tutorial breaks down placement, blending and color.
Contour has had a very long run, but there’s another way to give your face dimension, and it involves the product you’re probably already using every day. Blush draping uses strategic blush placement to visually lift and sculpt the face while adding color at the same time.
Unlike traditional contour, which relies on shadow to define your features, blush draping uses color to create shape. The result feels softer, fresher and a little more playful, making it one of those blush placement techniques that looks impressive without being difficult.
And once you learn where to place the color, it’s surprisingly easy.
What Is Blush Draping?
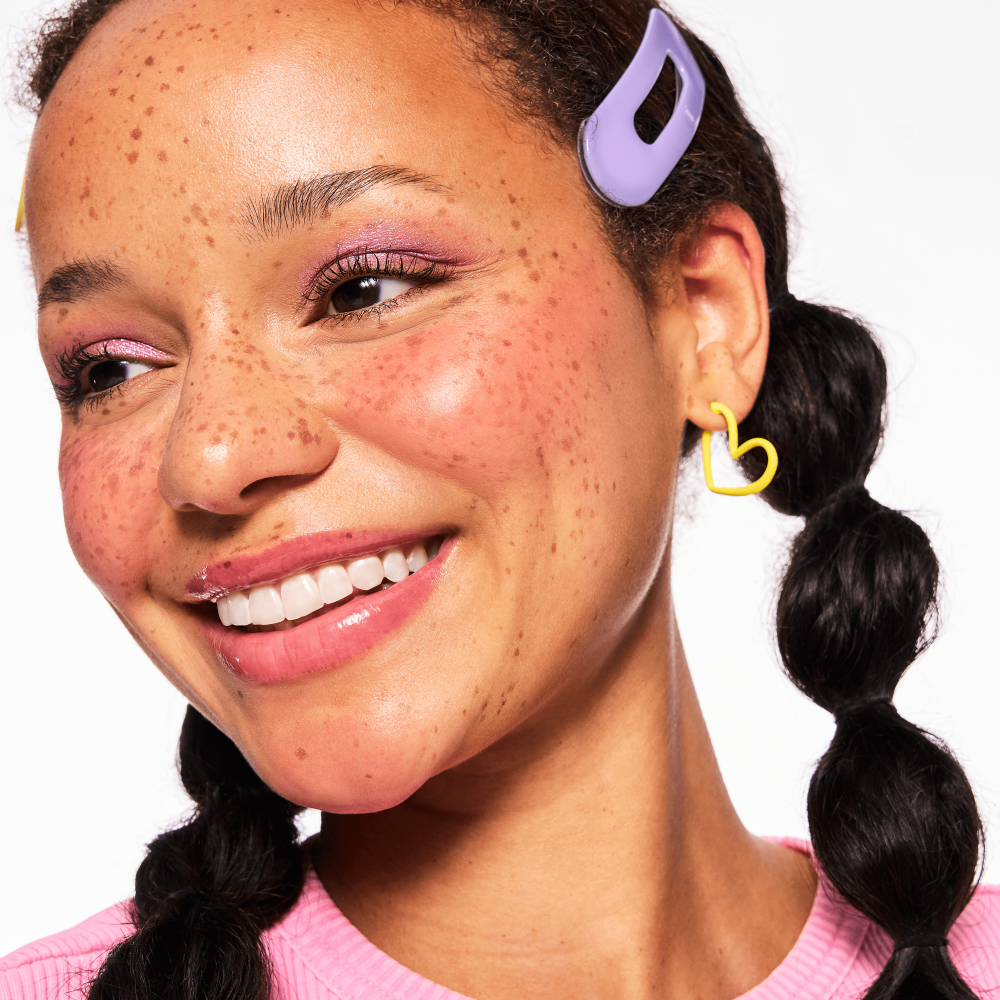
Think of blush draping as contour’s more colorful cousin. Instead of concentrating blush only on the apples of your cheeks, you sweep it higher along your cheekbones and toward your temples.
That placement draws the eye upward, creating a lifted effect while still giving your complexion a healthy flush.
When it comes to blush draping vs contour, the biggest difference is what creates the definition. Contour uses neutral, shadow-like shades underneath the cheekbones. Draping places blush higher on the face to create shape through color.
You can even use both techniques, but blush draping looks beautiful all on its own.
Choose Your Blush
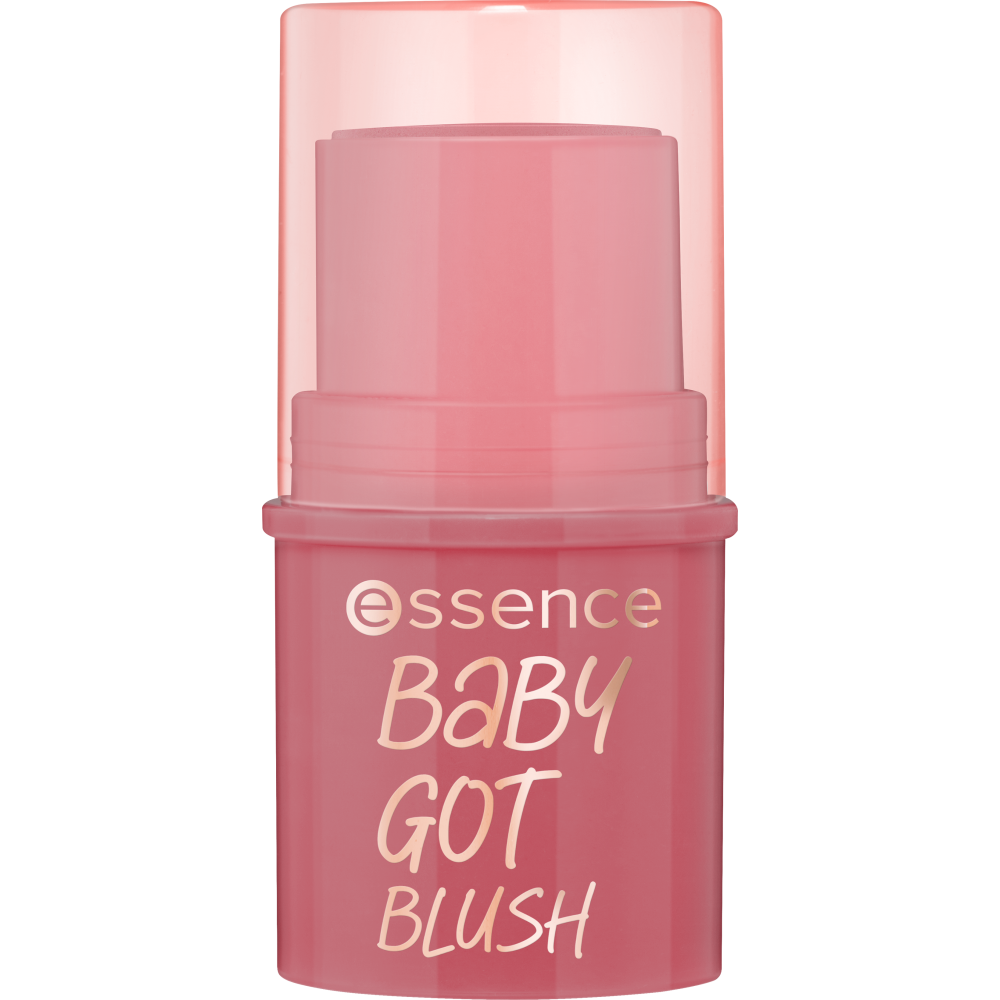
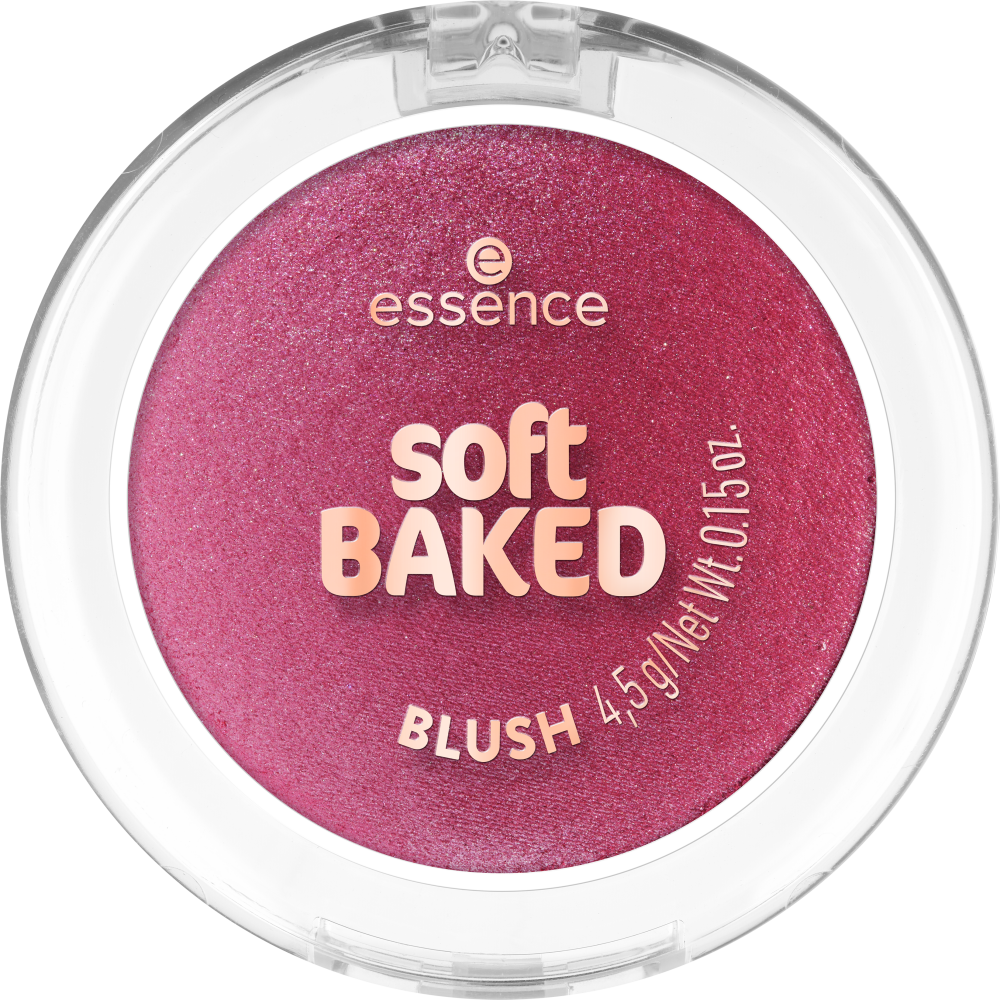
For sculpting with blush, a blendable formula is key. soft BAKED BLUSH has a silky, lightweight texture that makes it easy to build your color gradually. Shades range from Soft Bloom and Rose All Day to deeper options like Berry Bliss and Cocoa Glaze.
If you prefer cream, Baby Got Blush melts into the skin and can be blended with a brush or your fingertips.
The shade you choose changes the overall effect. Soft pinks create a fresh, romantic finish, while berry and deeper rose tones make the draping effect more noticeable and feel especially right for fall.
How to Drape Blush
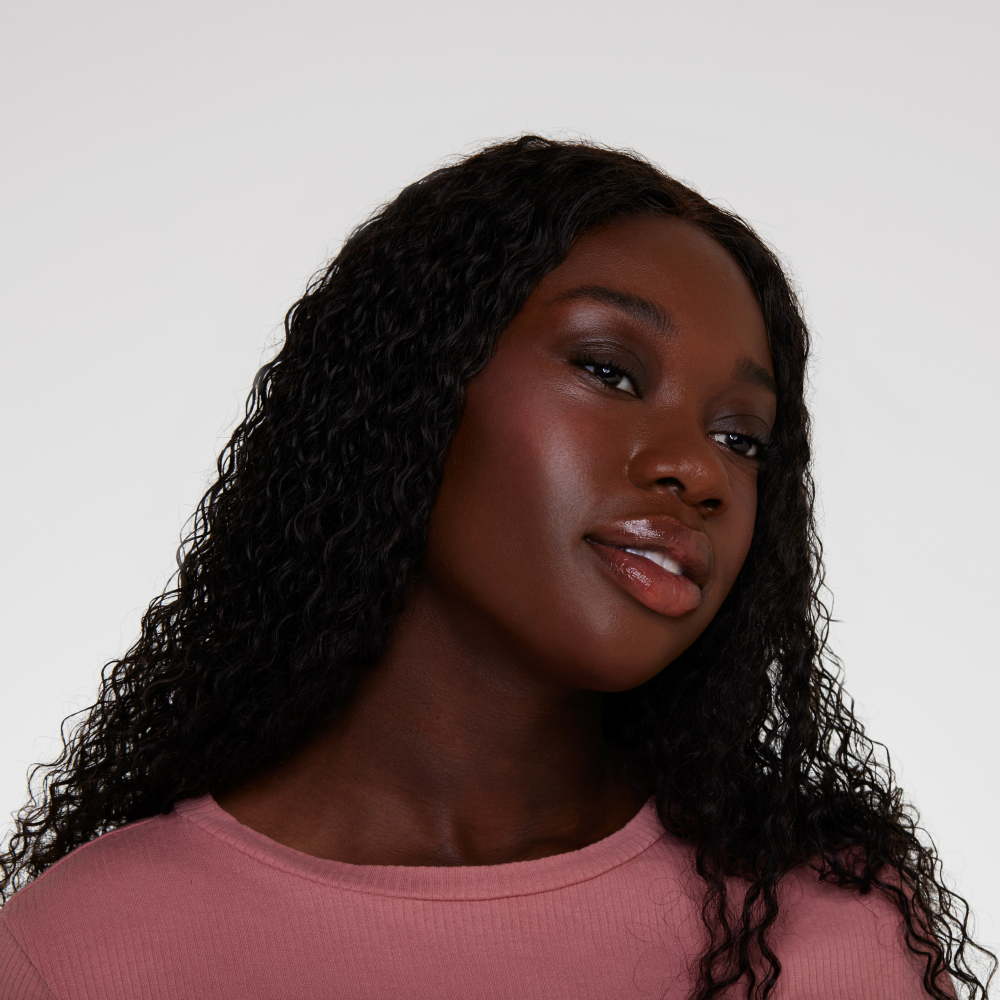
Here’s the most important part of this blush draping tutorial: placement.
Instead of smiling and applying blush directly to the roundest part of your cheeks, start slightly higher on the cheekbone. Blend the color upward and outward toward your temples, almost creating a soft “C” shape around the outer part of your face.
Keep most of the pigment toward the outside of your cheeks and use whatever is left on your brush to softly diffuse the edges. You can also sweep a tiny amount across your temples to connect everything and make the color look intentional.
The goal isn’t a harsh stripe of blush. You want the color to gradually fade as it moves outward.
Soft or Statement? You Decide

If you’re new to how to drape blush, start with a light hand. A sheer layer gives you a subtle lifted effect that works beautifully for everyday makeup.
For a more dramatic fall look, build another layer higher on the cheekbones and toward the temples. You can even use two blush shades, keeping the deeper color toward the outer cheek and blending a lighter shade inward.
The finished look has all the sculpting power you want, just without relying on a traditional contour. Your cheeks look lifted, your complexion gets an instant pop of color and your blush finally gets to be the main event.